
Custom Belt Side Plates Guide: How to Design, Choose & Order Yours

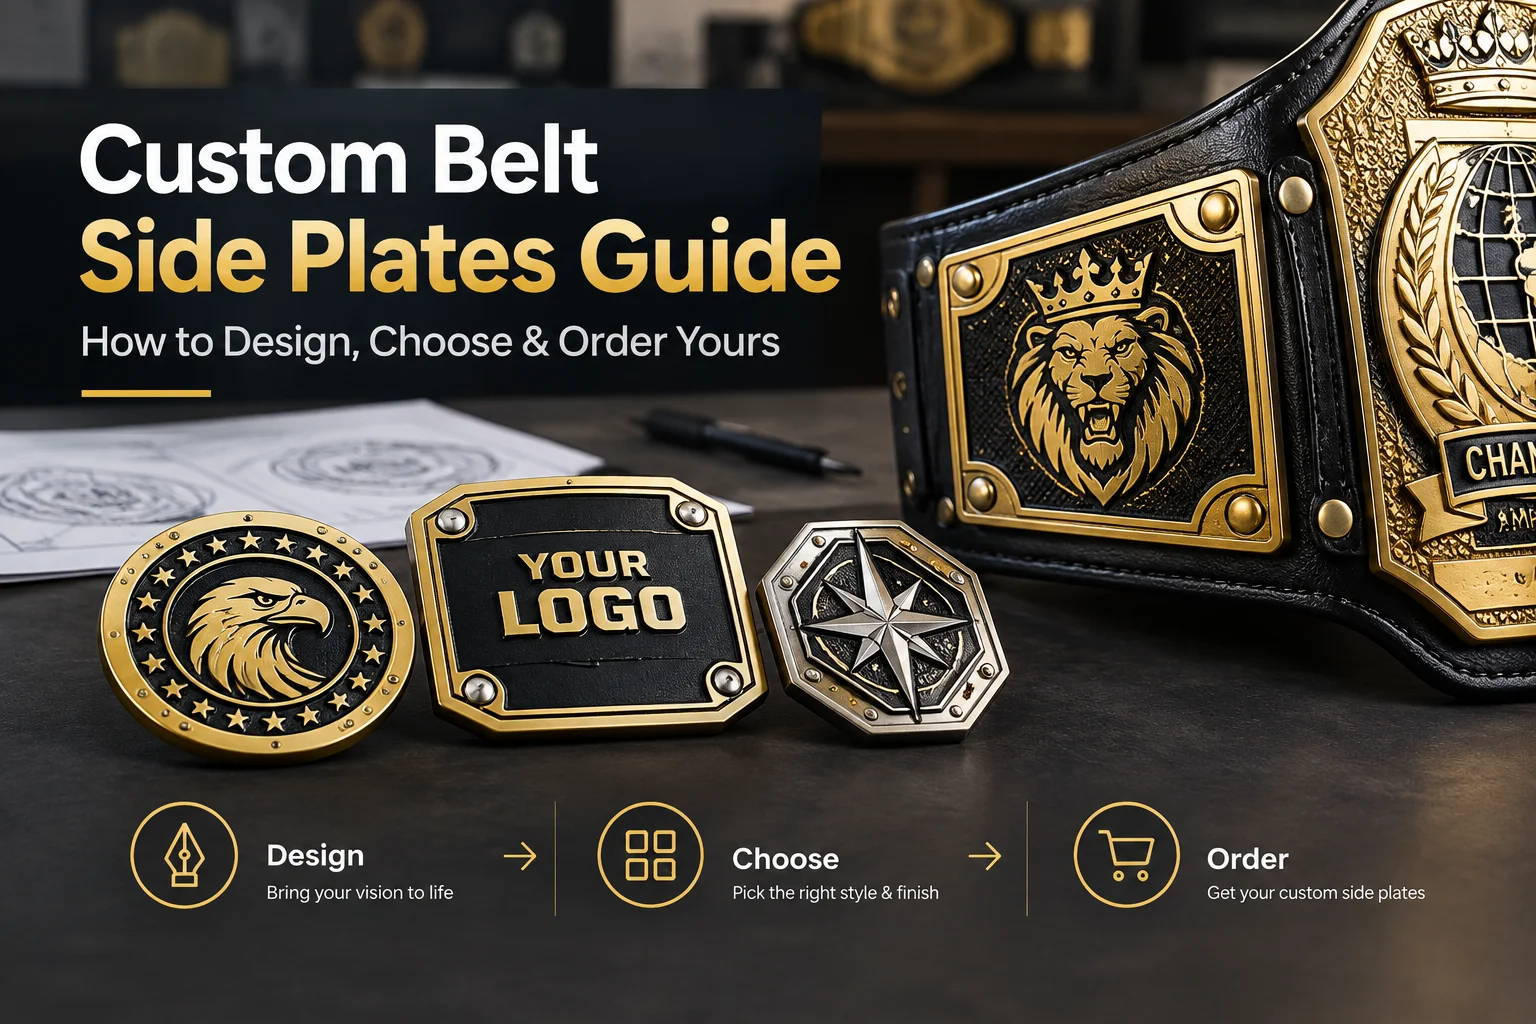
If you’re building a custom championship belt, the side plates deserve just as much thought as the center plate. They’re not filler pieces. They frame the whole belt, carry extra detail that the center plate can’t hold, and often end up being the part people notice second — right after the big logo in the middle.
This custom belt side plates guide walks through everything you need to know before you place an order: what side plates actually do, the sizing and finish options available, common design mistakes, and the questions most people forget to ask until it’s too late to fix them cheaply. Along the way, we’ll use Elite Belts’ own Custom Send-Out Side Plates as a real example of how a proper side plate ordering process should work, from picking a plate size through to final approval.
Whether you’re designing a belt for a wrestling promotion, a fantasy football league, a gym competition, a family tradition, or just because you want one, the same basic decisions apply. Get them right early and the final belt looks intentional instead of thrown together.
What Are Belt Side Plates, Exactly?
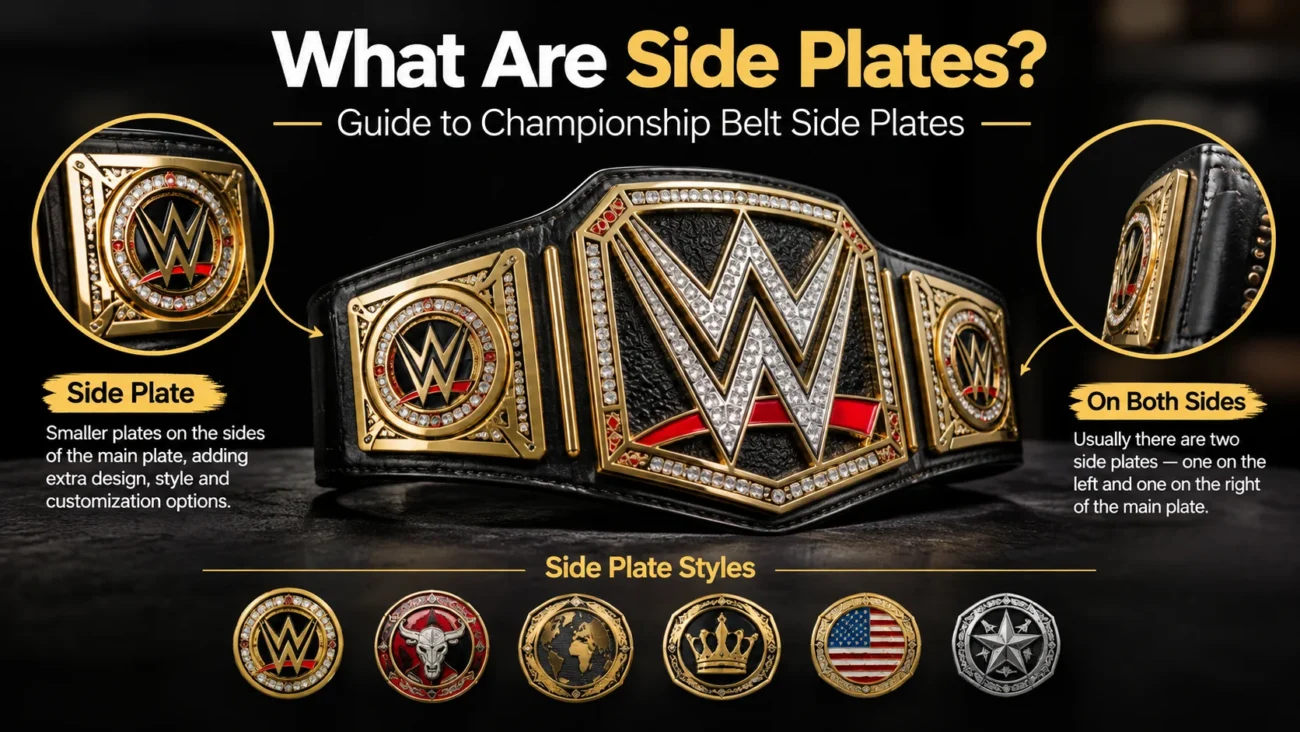
On a traditional championship belt, the “plates” are the metal pieces mounted onto the leather strap. The largest one, usually in the middle, is the center plate. On either side of it sit the side plates — smaller pieces that sit closer to the wearer’s hips when the belt is worn.
Most belts use two side plates, one on each side of the center plate, though larger or more elaborate designs sometimes use two per side (four total). Side plates are usually smaller than the center plate and slightly curved to sit comfortably against the body, but they’re still large enough to carry real detail: logos, text, small scenes, or repeated design elements that echo the center plate.
Their job is threefold:
- Visual balance. A belt with just a center plate and bare leather on either side often looks unfinished. Side plates fill that space with intention.
- Extra storytelling room. Center plates usually carry the main logo or title. Side plates are where you can add a date, a motto, a secondary logo, a mascot, or names.
- Symmetry and rhythm. Good side plate design repeats shapes, colors, or motifs from the center plate so the whole belt reads as one connected piece rather than three unrelated metal chunks bolted to a strap.
Custom vs. Engraved vs. Stock Side Plates
Most belt makers offer three basic routes for side plates, and it’s worth understanding the difference before you start designing anything.
1. Fully Custom Belt Side Plates Guide
This is where you submit your own artwork, and the production team recreates it on the plate — usually as a raised, sculpted, or cast design rather than a flat image. This option gives you total control over content: your own logo, character, crest, or scene. It typically costs more and takes longer because someone has to translate flat artwork into a three-dimensional metal design.
2. Engraved side plates
Engraving takes a design (often text, a simple logo, or a name) and cuts or etches it into the surface of an existing plate shape. It’s faster and more affordable than fully custom sculpted plates, but the design options are more limited — fine detail, shading, and complex imagery don’t always translate well to engraving.
3. Stock/standard side plate designs
Most belt makers keep a library of pre-made side plate designs — stars, flags, generic crests, laurel wreaths, and so on. These are the cheapest and fastest option since no custom art or engraving work is needed. They’re a solid choice if you want a professional-looking belt without commissioning original artwork, or if your budget is tight.
If you want the same design on both the left and right side plates, say so clearly and upload the artwork for both sides, even if it’s identical. Production teams generally won’t assume symmetry — they build exactly what’s submitted, so an unclear order can result in mismatched plates or a delay while someone follows up to confirm.
Elite Belts’ Custom Send-Out Side Plates are built around a straightforward version of this process: pick your plate size, upload your logo, artwork, name, text, or a completely original design idea, and add your customization notes. From there, the team reviews what you’ve submitted and builds a 3D preview of the finished plate for you to approve before anything goes into production — so you’re seeing exactly what you’re getting, in the correct size and finish, before it’s made.
Materials: What Are Side Plates Actually Made From?
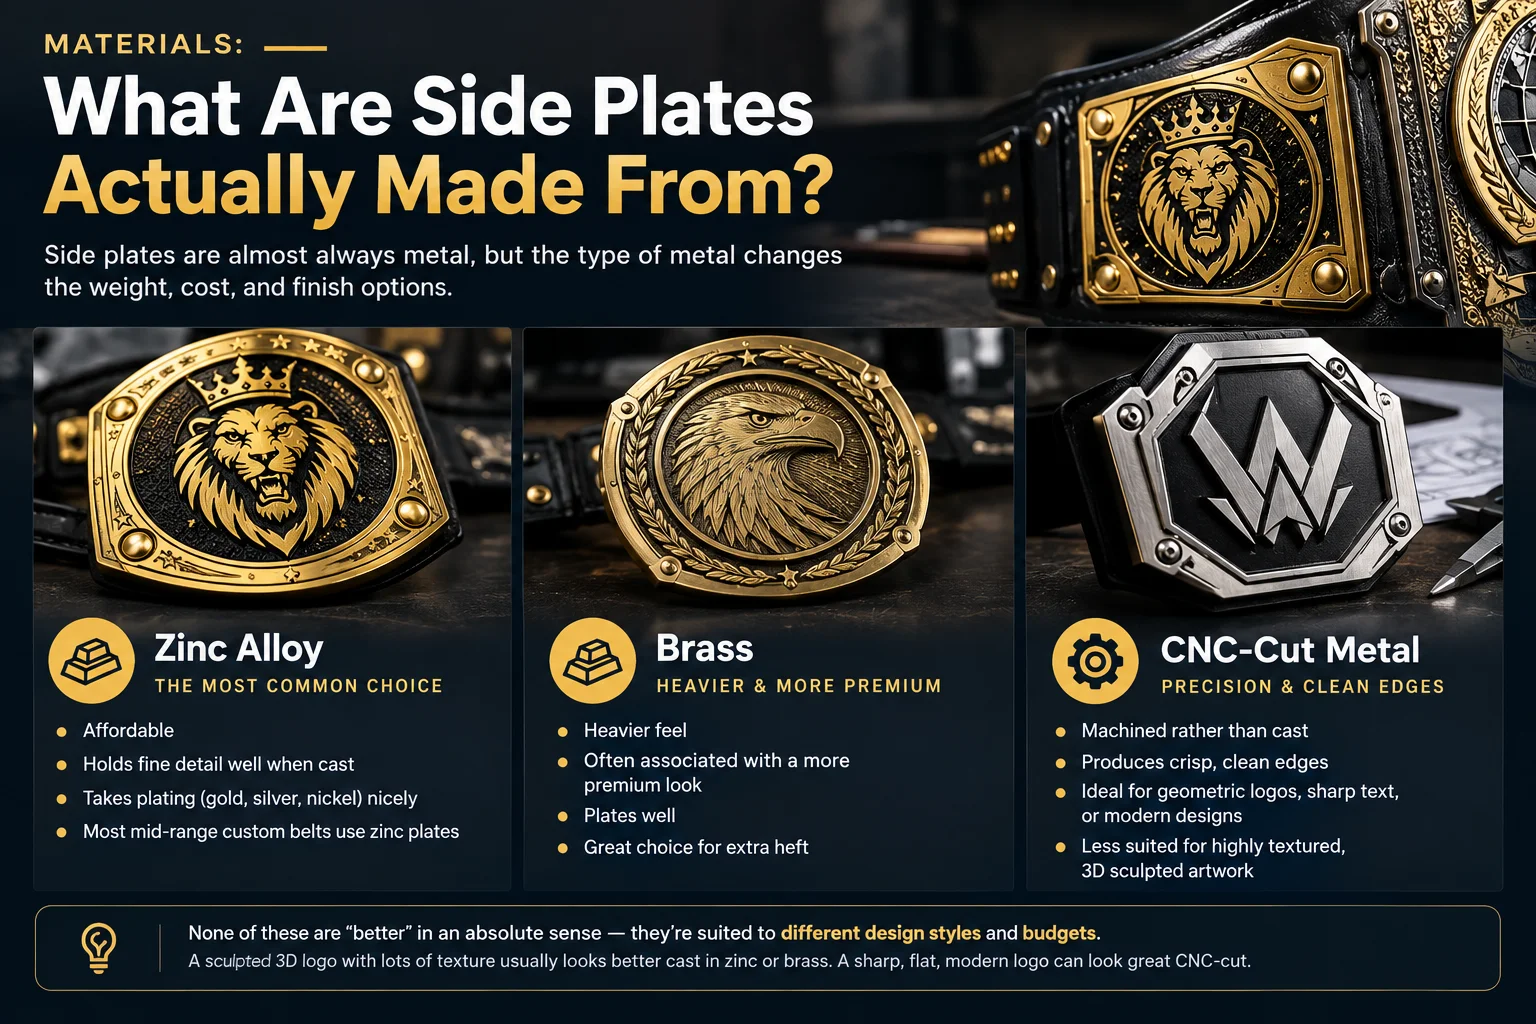
Side plates are almost always metal, but the type of metal changes the weight, cost, and finish options.
- Zinc alloy is the most common choice for custom belts. It’s affordable, holds fine detail well when cast, and takes plating (gold, silver, nickel) nicely. Most mid-range custom belts use zinc plates.
- Brass is heavier and often associated with a slightly more premium feel. It also plates well and is a common choice for buyers who want extra heft.
- CNC-cut metal is machined rather than cast, which can produce crisp, clean edges — especially good for geometric logos, sharp text, or modern design styles rather than sculpted, dimensional artwork.
None of these are “better” in an absolute sense — they’re suited to different design styles and budgets. A sculpted 3D logo with lots of texture usually looks better cast in zinc or brass. A sharp, flat, modern logo can look great CNC-cut.
Finishes: Gold Plating, Enamel Detailing, and Custom Options
Once the plate is made, it gets plated or finished. Elite Belts finishes its custom send-out side plates with premium gold plating as the base, then adds enamel detailing and other custom finishing on top — a combination that’s worth understanding before you design your artwork:
- Premium gold plating — the classic championship look, and the foundation most side plates are built on.
- Enamel detailing — solid color fills applied into recessed sections of the design, which is what lets you bring specific colors (team colors, brand colors, flag colors) into a design that would otherwise be entirely gold-toned metal.
- Other custom finishing — depending on the design, additional finishing touches can be used to add contrast or highlight specific elements so nothing gets lost against the gold background.
If your logo has multiple layers (for example, text sitting on top of a shield, sitting on top of a starburst) or uses specific brand colors, enamel detailing is usually what makes each layer readable and on-brand, rather than everything blurring into one flat gold shape.
Standard Sizing for Side Plates
Sizing varies between belt makers, and it’s one of the first decisions you need to lock in before designing any artwork. Elite Belts, for example, offers Custom Belt Side Plates in three distinct sizes, each matched to a different belt style:
- NXT Square — a squared-off plate shape, well suited to modern, sharp-edged logos and text-forward designs.
- Women’s Round Small — a smaller, rounded plate built to match the proportions of women’s championship belts.
- Men’s Round Standard — the classic rounded shape and size used on most standard men’s championship belts.
Picking the right size for your belt style matters more than people expect. A plate shape designed for one style of belt won’t sit right, proportionally or physically, on a different style. If you’re not sure which size fits your belt, check with your belt maker before submitting artwork — designing to the wrong shape is one of the most common (and most avoidable) mistakes people make, because a logo that looks great as a square can end up cramped or oddly cropped once it’s applied to a round plate, and vice versa.
It also helps to know how many side plates your belt design will use. Some belts use one pair (two total), while larger, more elaborate designs use two pairs (four total) — one set closer to the center plate and a second set further out. More plates means more surface area for storytelling, but it also means more design work and a higher price, so it’s worth deciding early rather than adding plates later.
What to Put on Your Side Plates
This is usually where people get stuck. The center plate is obvious — that’s your main logo or title. Side plates are more flexible, and that flexibility can feel overwhelming if you don’t have a plan going in. Some ideas that tend to work well:
- A secondary logo or emblem that relates to the main design without competing with it — a smaller crest, a mascot, or a simplified version of the center plate’s shape.
- Names or initials — useful for personal achievement belts, gifts, family belts, or league trophies where individual recognition matters.
- Dates or numbers — a founding year, a season number, a tournament edition, or a championship reign count.
- A short motto or tagline — a phrase that means something to the group or person the belt is for.
- Flags, regional symbols, or team colors — common for belts tied to a specific country, city, or organization, and a natural fit for enamel detailing.
- Repeating patterns — stars, chain links, laurel branches, or geometric borders that echo the center plate’s edge design and tie the whole belt together visually.
A good rule of thumb: the center plate should be able to stand alone and still make sense, while the side plates should feel like they belong to it — not like they were designed separately and attached afterward. If someone could swap your side plates onto a completely different belt without it looking odd, that’s usually a sign the design isn’t tied together tightly enough.
Common Mistakes to Avoid
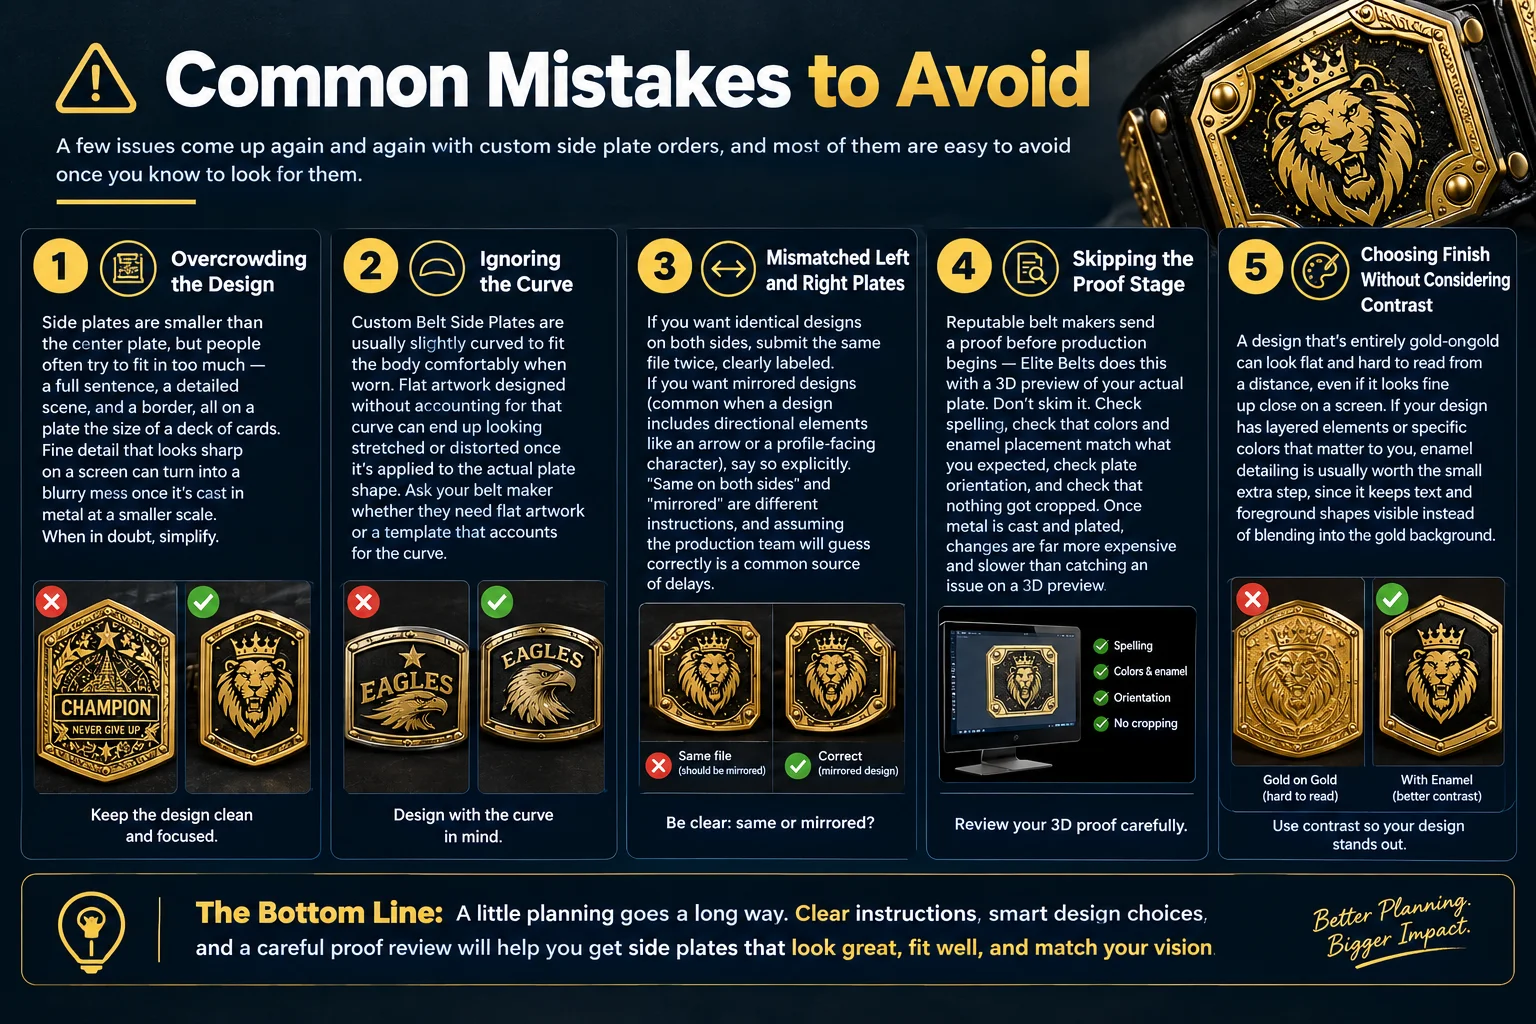
A few issues come up again and again with custom side plate orders, and most of them are easy to avoid once you know to look for them.
Overcrowding the design. Side plates are smaller than the center plate, but people often try to fit in too much — a full sentence, a detailed scene, and a border, all on a plate the size of a deck of cards. Fine detail that looks sharp on a screen can turn into a blurry mess once it’s cast in metal at a smaller scale. When in doubt, simplify.
Ignoring the curve. Custom Belt Side Plates are usually slightly curved to fit the body comfortably when worn. Flat artwork designed without accounting for that curve can end up looking stretched or distorted once it’s applied to the actual plate shape. Ask your belt maker whether they need flat artwork or a template that accounts for the curve.
Mismatched left and right plates. If you want identical designs on both sides, submit the same file twice, clearly labeled. If you want mirrored designs (common when a design includes directional elements like an arrow or a profile-facing character), say so explicitly. “Same on both sides” and “mirrored” are different instructions, and assuming the production team will guess correctly is a common source of delays.
Skipping the proof stage. Reputable belt makers send a proof before production begins — Elite Belts does this with a 3D preview of your actual plate. Don’t skim it. Check spelling, check that colors and enamel placement match what you expected, check plate orientation, and check that nothing got cropped. Once metal is cast and plated, changes are far more expensive and slower than catching an issue on a 3D preview.
Choosing finish without considering contrast. A design that’s entirely gold-on-gold can look flat and hard to read from a distance, even if it looks fine up close on a screen. If your design has layered elements or specific colors that matter to you, enamel detailing is usually worth the small extra step, since it keeps text and foreground shapes visible instead of blending into the gold background.
How Much Do Custom Side Plates Cost?
Pricing depends heavily on the belt maker, the material, and how complex the design is, so there’s no single number that applies everywhere. That said, a few general patterns hold across most custom belt shops:
- Stock/standard designs are the cheapest option since no original art or engraving work is required.
- Engraved designs sit in the middle — more affordable than fully custom sculpted plates, but pricier than picking from stock.
- Fully Custom Belt Side Plates Guide cost the most because they require original design work, a proofing process, and more detailed production.
If budget is a concern, one practical approach is to spend your custom-design budget on the center plate — the piece people notice first — and pair it with well-chosen stock or engraved side plates that complement it. This can bring the overall cost down significantly while still producing a belt that looks cohesive and professional.
How Long Does Custom Side Plate Production Take?
Turnaround time varies by belt maker and by how complex the design is, but custom metal plate work generally takes longer than people expect — often several weeks rather than a few days, since it typically involves original design work, a 3D preview and buyer approval, casting or engraving, and finishing (gold plating, enamel detailing, and polishing) before the plates are even attached to the strap. If you’re ordering a belt for a specific event — a tournament final, a season wrap-up, a birthday, or an anniversary — build in extra time beyond the quoted production window in case a revision round is needed after you review the 3D preview.
Questions to Ask Before You Order
Before submitting your design or placing an order, it’s worth getting clear answers to:
- Which plate size matches your belt style — for example, is it a square shape or a round one, and what are the exact dimensions?
- Do you need flat artwork, or a curve-adjusted template?
- How many rounds of revisions are included on the 3D preview before production starts?
- What file format do you need for custom artwork (vector files are usually preferred over low-resolution images)?
- What’s the realistic production timeline, including time for you to review and approve the 3D preview — not just the metal work itself?
- Can you see photos of previous side plates in the finish you’re considering (gold plating with enamel detailing, for example), so you know what it actually looks like in person rather than just on a screen?
Getting these answers early prevents the most common source of frustration in custom belt orders: assuming something was included, understood, or automatic when it wasn’t.
Final Thoughts
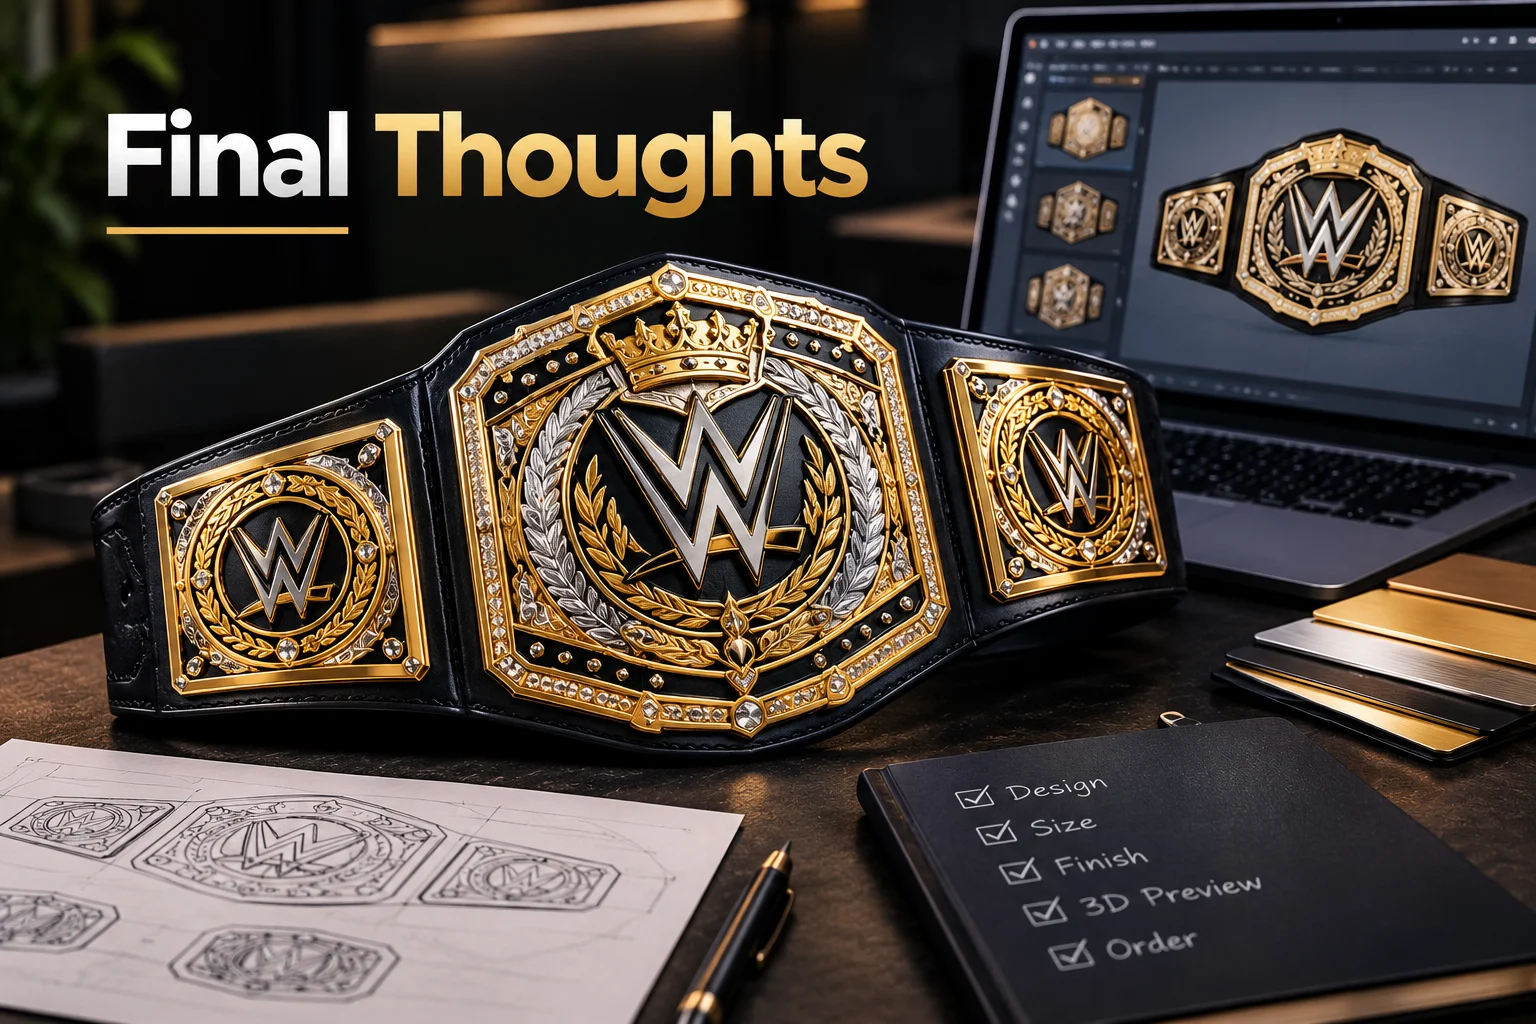
Custom Belt Side Plates Guide are one of the easiest parts of a custom championship belt to get wrong — not because they’re complicated, but because they’re often treated as an afterthought once the center plate design is finalized. Treating them as part of one connected design, rather than a separate decision made in a rush, is what separates a belt that looks professionally designed from one that looks like mismatched pieces bolted together.
Take the time to plan what goes on them — pick a plate size that actually matches your belt style, choose finishes that suit the overall design, and review the 3D preview carefully before production begins. Do that, and your side plates won’t just fill space on the strap — they’ll do real work telling the story your belt is meant to tell.